
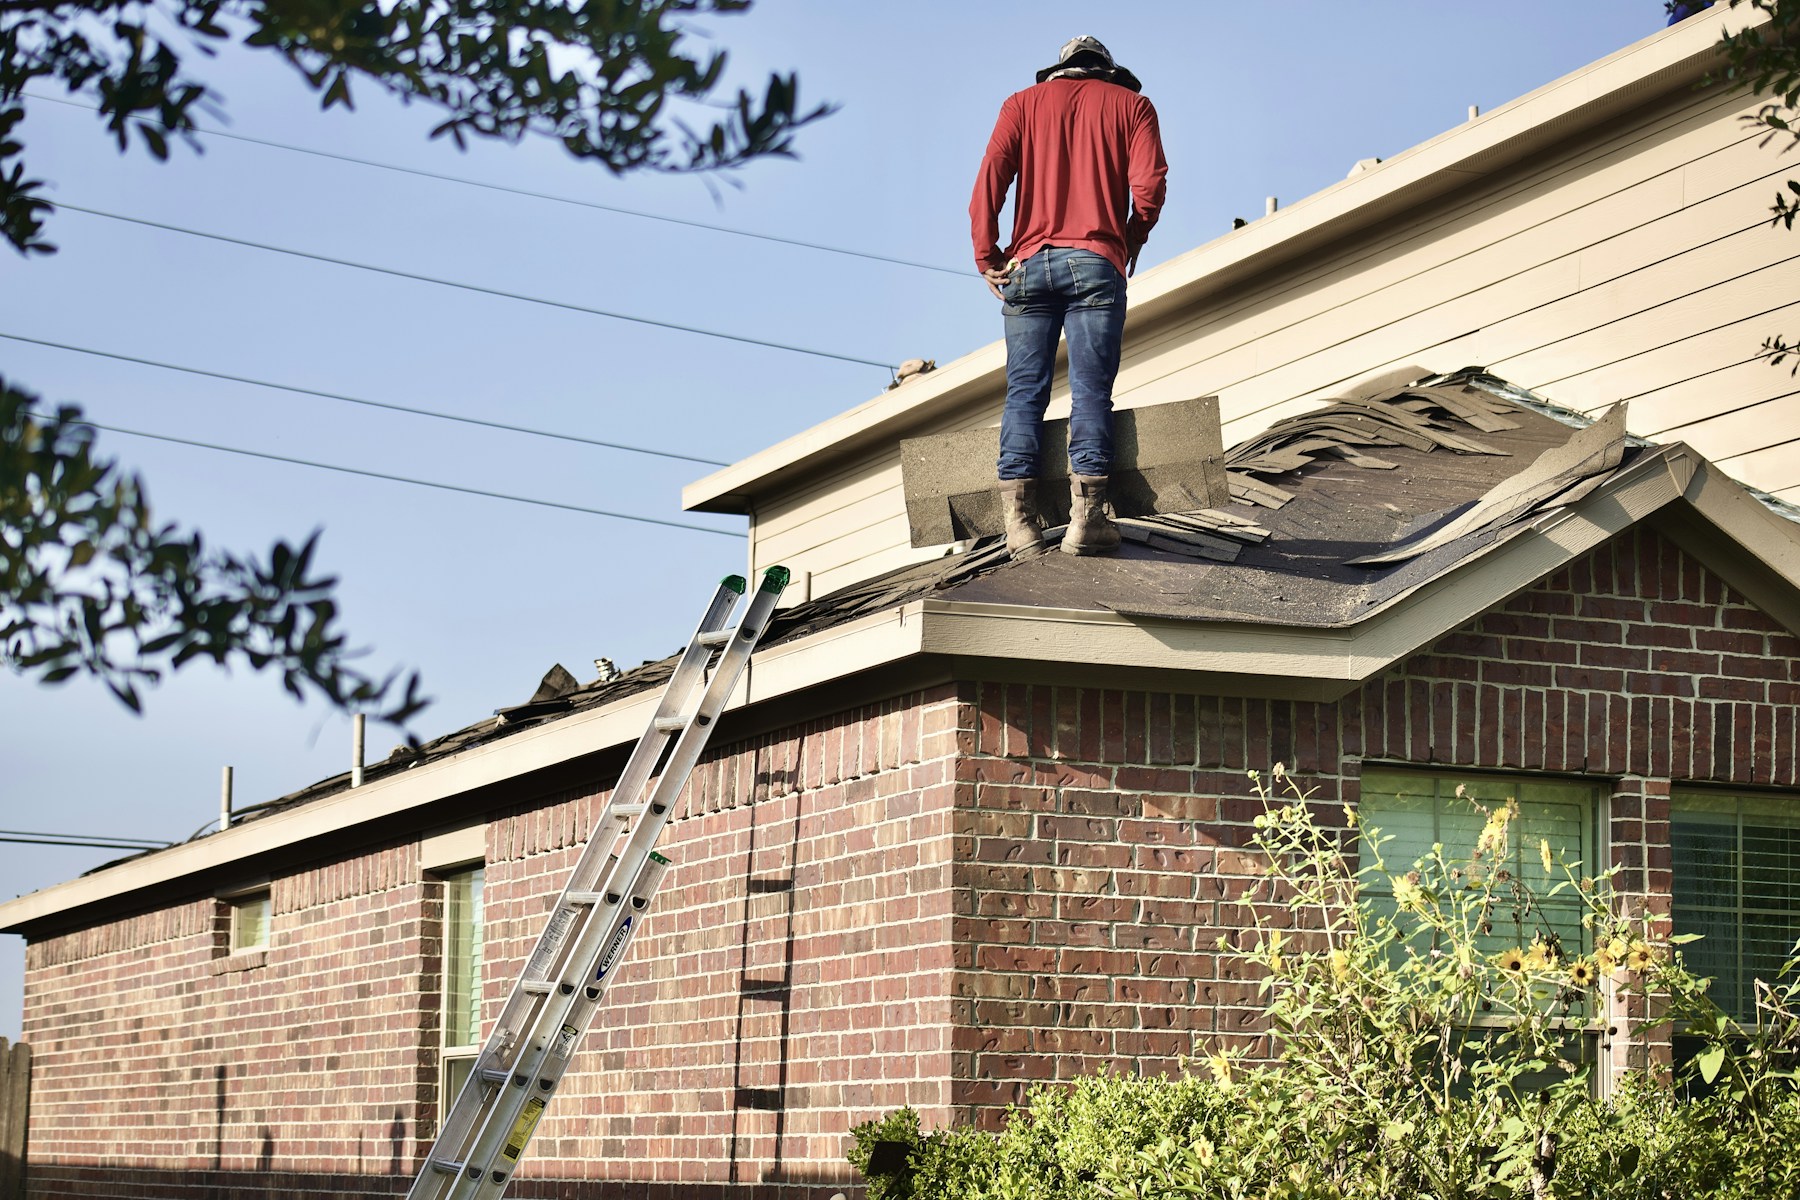
How to Spot Early Signs of Roof Damage
Practical Australian homeowner guide to early roof damage, including inspection, safety, budgeting, contractor questions and long-term maintenance.
Start outside without stepping onto the roof
Walk the property after daylight returns and use binoculars or camera zoom. Compare ridge lines, hips, valleys, gutters and penetrations from more than one angle. Look for tiles that no longer align, metal sheets with lifted edges, missing ridge material, loose antenna or solar mounts, rust staining beneath fasteners and granules or fragments at downpipe outlets. Check whether gutters pull away from the fascia or overflow marks appear behind them. A single photograph should show both the defect and enough surrounding roof to locate it. Never use a ladder or roof access during wind, rain, extreme heat or when the covering may be brittle.
Use indoor evidence to narrow the source
Ceiling rings, bubbling paint and musty odours are useful, but timing matters. Note whether moisture appears during short wind-driven rain, only after hours of steady rain, or even in dry weather. Check wardrobes, eaves and the roof-space access area for odour or discolouration without disturbing insulation. Condensation, plumbing and air-conditioning drains can imitate a roof leak. Mark the edge of a stain lightly and date it so later growth is visible. Give the contractor the room, wall orientation and weather notes rather than assuming the opening sits directly above the mark.
Turn observations into a repair scope
Ask the assessor to label photographs and distinguish confirmed defects from suspected pathways. The report should state access limitations, urgency, affected materials and whether temporary protection is needed. A good scope explains the water-shedding detail being restored, product compatibility and how completion will be checked. If movement, rotten timber, asbestos-containing material, electrical equipment or widespread corrosion is suspected, the correct specialist should be involved before a cosmetic patch is priced.
Read the clues in the context of your Australian location
Damage does not present the same way everywhere. In coastal suburbs, inspect metal edges, fasteners and gutters for early corrosion or chalky deposits. In tropical and subtropical areas, wind-driven rain, organic growth and short intense downpours make valleys and overflows important clues. Inland heat can accelerate sealant and coating breakdown, while alpine frost may expose already porous tiles. Homes near eucalypts need closer checks for branch impact and leaf dams; properties in designated bushfire-prone areas should also have ember-entry details assessed. Record which roof face is affected and the wind direction during rain. That location-specific evidence is far more useful than describing the whole roof as simply old.
Create a repeatable record of warning signs
Good decisions about early roof damage begin with observations that another person can verify. Record misaligned tiles or sheets, ridge movement, rust trails, cracked sealant, granules at outlets, damp insulation, ceiling discolouration and recurring musty odours. Use wide photographs to establish location and closer photographs for detail, always from a safe position. Add the date, recent weather, the room or elevation affected and whether the symptom is new, stable or getting worse. Repeat photographs from the same viewpoint after significant weather. This separates a one-off mark from a developing pattern and gives a contractor useful evidence before products or prices dominate the conversation. It also reduces the chance of repairing the most visible symptom while missing the route by which water, heat or movement reaches it.
Interpret damage in its local weather context
The postcode alone does not describe a roof. Relevant exposures can include salt-laden coastal air, tropical downpours, inland heat and UV, alpine frost, falling branches and wind-driven rain. A hilltop, open paddock, dense tree canopy, nearby taller building or complex roof intersection can create conditions different from the surrounding suburb. Ask the assessor to connect each recommendation to an observed exposure: material grade, fixing pattern, lap, drainage capacity, ventilation path, surface preparation or maintenance interval. Broad claims such as “suits Australian weather” are less useful than a specification explaining the mechanism being managed. Manufacturer instructions, applicable building requirements and state or local rules still need to be checked for the particular address and proposed work.
Trace symptoms through the whole roof assembly
No roof decision concerns one visible product in isolation. For this subject, the connected system may include terracotta and concrete tiles, corrugated or standing-seam metal, ridge bedding, flexible pointing, underlay, timber battens, flashings and fasteners. A change to one component can alter loads, drainage, airflow, movement or access elsewhere. Request an explanation in ordinary language of what each component does and what failure would look like. Confirm that adjoining materials are chemically and mechanically compatible and that future inspection remains practical. If electrical, plumbing, structural, solar, hazardous-material or fire-safety work is involved, identify the appropriately licensed or qualified specialist rather than assuming the roofing scope automatically covers every interface.
Move from observation to targeted investigation
A defensible sequence is to record the symptom and weather, inspect safely from the ground and indoors, identify the water or movement pathway, define urgency, then specify repair and verification. Each stage should have an observable output, such as labelled findings, measured quantities, prepared surfaces, installation photographs or a handover record. The proposal should distinguish confirmed work from provisional allowances and state what happens if hidden deterioration is found. Agree who can approve changes and require the cost and reason in writing before extra work proceeds. An ordered process protects the property when weather interrupts the job and makes it easier to determine whether the final result matches the original problem rather than merely looking different.
Compare repair proposals against the same evidence
Price differences commonly reflect access, roof pitch, storeys, the number of junctions, concealed timber damage, matching discontinued profiles, electrical or solar interfaces and required edge protection. Ask every contractor to respond to the same scope and measured assumptions. Check preparation, product and installation method, access equipment, protection of adjoining areas, waste, exclusions, timing, payment stages, variation procedure and handover documents. A low number is not competitive when essential work sits outside it; a high number is not automatically comprehensive. Separate safety and weatherproofing work from elective improvements so budget decisions do not weaken the core outcome. Warranty length should never replace scrutiny of installer qualifications, system compatibility, maintenance obligations and exclusions relevant to the property’s exposure.
Do not let a surface patch conceal the cause
Common failures in this area include painting over corrosion, sealing only the visible drip, replacing a stained ceiling before the source is dry, pressure washing brittle material and assuming every mark is a roof leak. A durable solution should restore the relevant structural, water-shedding, drainage, moisture or thermal principle before cosmetic finishing. Ask what failed, why the proposed detail changes that condition and which limitation remains. Be cautious when the entire explanation depends on one bead of sealant, one coating or one device remaining perfect indefinitely. Older homes also deserve care before surfaces are cut, drilled, sanded or pressure-cleaned because concealed deterioration and hazardous materials may change the safe method. When the diagnosis is uncertain, staged investigation is more responsible than an irreversible blanket treatment.
Questions that reveal how the diagnosis was made
Use the quotation meeting to ask: Where is the confirmed entry or failure point? What observations support that conclusion? Which adjacent components were checked? How will the repair be tested and documented? Also confirm the inspected and inaccessible areas, the person responsible for site supervision, how the building will remain secure and weather-resistant each day, and how unexpected conditions will be communicated. Request product names and installation requirements rather than accepting generic descriptions. The contractor should be able to separate fact from assumption and explain when another trade or designer is required. Clear answers do not guarantee a perfect project, but they reveal whether the proposal addresses the property as a connected system and whether both parties understand the same result.
Confirm the symptom has stopped after repair
Do not close the project on appearance alone. Retain dated photographs from repeatable viewpoints, room and elevation notes, rainfall direction, moisture findings, labelled repair photos, invoices and product details. Walk through the agreed scope, check that drainage and ventilation paths remain open, confirm debris and sharp offcuts are removed and record any inaccessible stages through photographs. Where controlled testing is appropriate, document the method and conditions while recognising that it cannot reproduce every natural storm or season. Add the work to a property maintenance calendar and observe it safely after relevant weather. Maintenance frequency should follow material, exposure, trees, complexity and previous defects—not a universal promise that the area can be ignored for a fixed number of years.
Turn early warning signs into an inspection brief
Turn the guidance on early roof damage into a short property brief before requesting a quote. Write down the outcome you need, the locations affected and the evidence already available, including misaligned tiles or sheets, ridge movement, rust trails, cracked sealant, granules at outlets, damp insulation, ceiling discolouration and recurring musty odours. Add the roof type, approximate age, number of storeys, access constraints, surrounding trees, solar equipment and any previous work. Note the site exposures most relevant to this address, such as salt-laden coastal air, tropical downpours, inland heat and UV, alpine frost, falling branches and wind-driven rain. Then divide the next steps into three columns: immediate safety or weatherproofing, investigation needed before pricing, and optional improvements that can wait. Give the same brief to each contractor so their recommendations answer the same problem. When proposals arrive, compare the diagnosis, measured scope, materials, exclusions, verification and records—not just the headline total. If two contractors reach different conclusions, ask each to explain the observations behind the recommendation rather than averaging their prices. This small planning exercise helps prevent urgency, appearance or sales language from replacing evidence and gives the eventual handover documents a clear link back to the reason the project began.
Frequently asked questions
Does a ceiling stain always sit below the roof leak?
No. Water can track along rafters, battens, insulation or services before appearing. Mark the stain, note the weather direction and ask for the full pathway to be traced.
Which warning signs need urgent attention?
Sagging ceilings, fallen material, exposed wiring, major displacement after a storm and water near electrical fittings require immediate isolation of the area and qualified help.
How often should a roof be reviewed?
Make ground-level observations after severe weather and before the local storm season. Coastal exposure, overhanging trees, older materials or a previous leak justify more frequent professional checks.